Table of contents
Intro to Apple Pay
We look to our phones to help us take care of daily life—everything from checking the weather to ploughing through email or monitoring our health. So, it only makes sense that people are increasingly using their smartphones as a way to pay for things in shops. Apple Pay is perhaps the best-known example of these mobile wallet services.
FAQ
Seven Frequently Asked Questions About Apple Pay
What is Apple Pay?
Apple Pay is Apple’s mobile wallet. In shops, Apple Pay allows you to check out and pay by holding your phone over a payments reader that can accept Apple Pay. In apps, Apple Pay allows you to trigger a payment from just a tap on your phone.
Which Apple devices have Apple Pay?
Apple Pay is Apple’s mobile wallet – a contactless way to pay with an iOS device (such as an iPhone) or other Apple product (like an Apple Watch). In shops, Apple Pay allows you to check out and pay by holding your phone over a payments reader that can accept Apple Pay. In apps, Apple Pay allows you to trigger a mobile payment from just a glance or tap on your phone (depending on if you have Face ID or Touch ID).
How can I get Apple Pay?
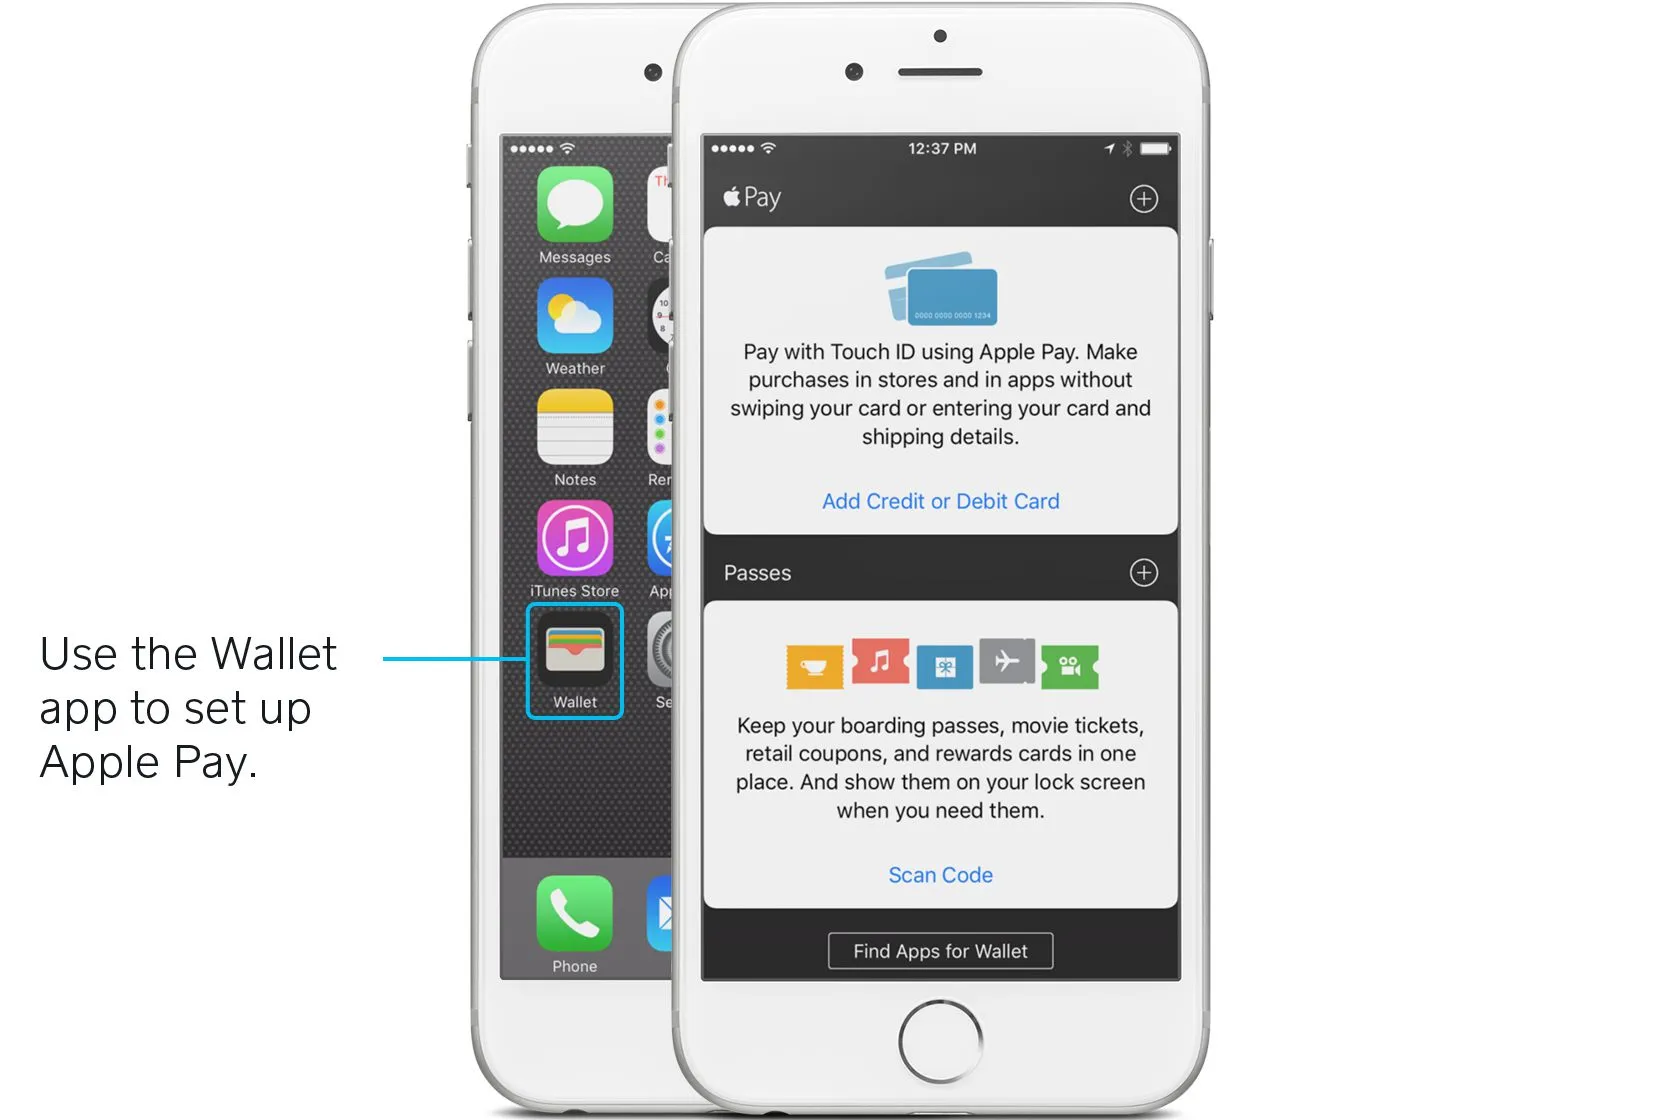
To get Apple Pay, first open up Wallet on a supported Apple device. Then, using your device’s camera to take pictures of the credit cards you’d like to load into your mobile wallet. If you already have a card associated with your iTunes account, you can use that as well.
How do I use Apple Pay?
In shops, pay with Face ID or Touch ID on an iPhone or Apple Watch.
To use Face ID on your iPhone, double click the side button, glance at your iPhone or enter your passcode, then hold the top of your iPhone near the contactless reader until the word ‘Done’ and a tick appears on the display.
For Touch ID on an iPhone, rest your finger on Touch ID then hold the top of your iPhone near the contactless reader until you see ‘Done’ and a tick displayed.
To pay with an Apple Watch, double click the side button then hold your Apple Watch near the contactless reader until you feel a gentle tap.
Is Apple Pay secure?
With Apple Pay, your credit card number is never actually stored on your iOS device. Apple assigns a unique number to every purchase, so your payments stay secure. If your phone is lost or stolen, you’re also protected by Face ID and Touch ID, Apple’s fingerprint technology.
What are the benefits of Apple Pay?
Besides being secure, Apple Pay payments are quick to process. The transaction takes just seconds, which is noticeably faster than credit card transactions (especially EMV transactions).
How can I accept Apple Pay at my business?
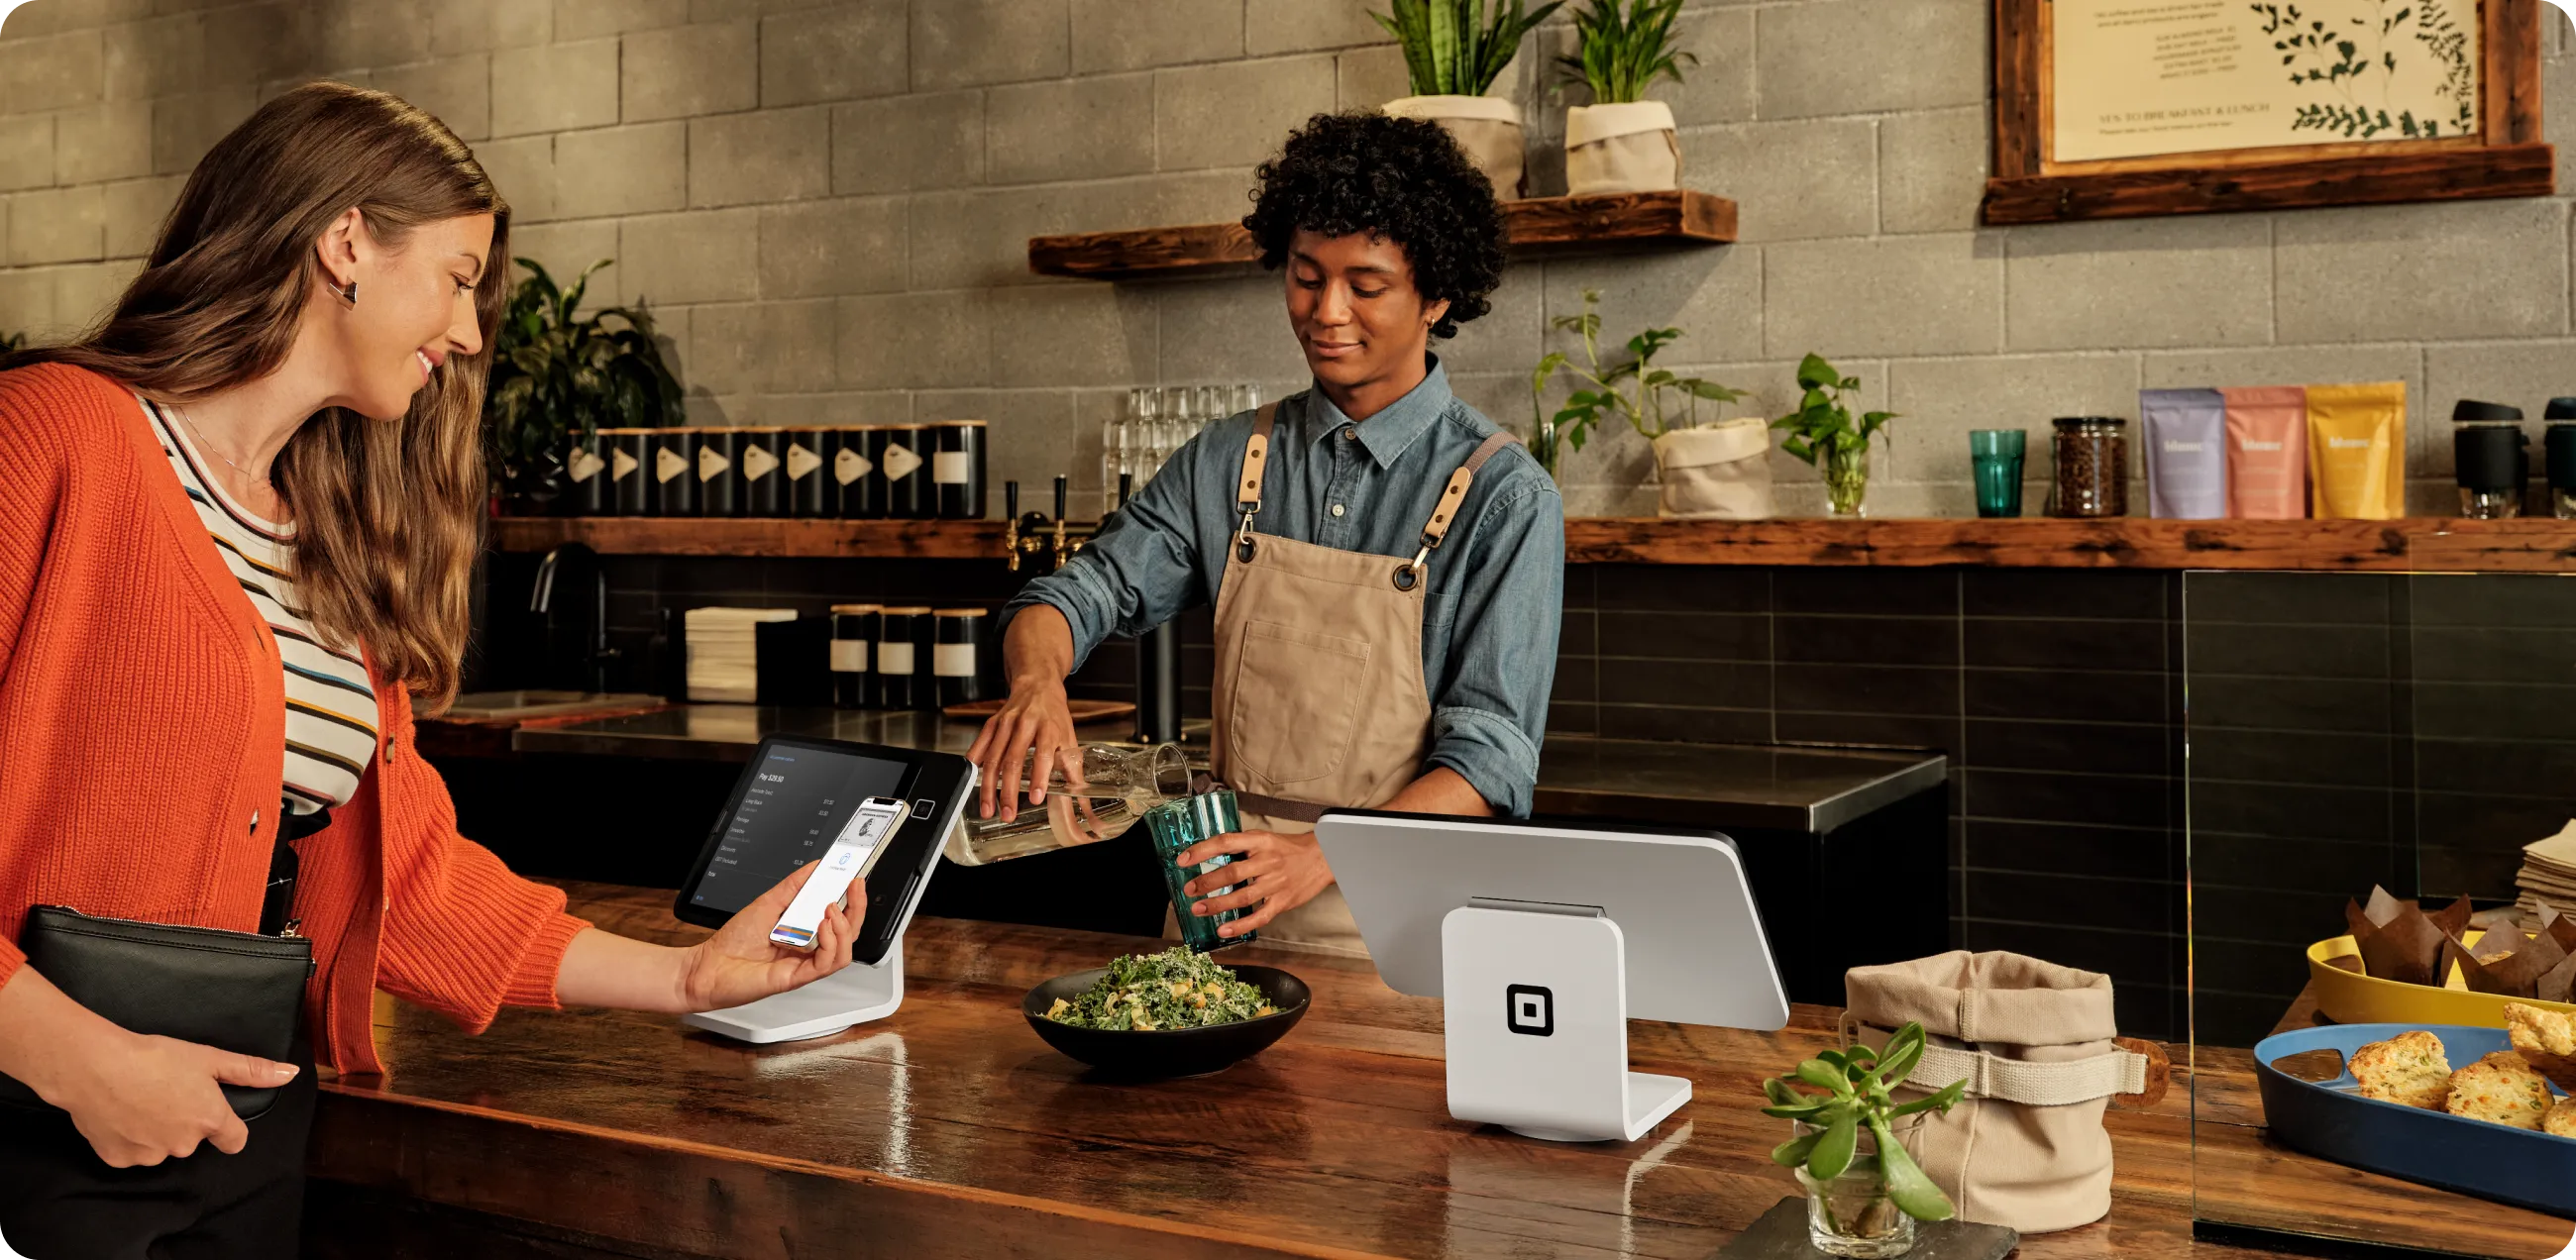
To accept Apple Pay mobile payments at your business, you need a reader that’s equipped with NFC (near field communication) technology. Square Reader and Square Terminal are enabled with NFC.
How to set up Apple Pay on your device
If you own a business, it’s a good idea to stay up to speed with the latest in new payments technologies, like Apple Pay. As Apple Pay continues to take off, people will want to use it at your shop, so being familiar with how things work on the buyer side of things will help prevent any fumbling on your end. And the best way to learn about Apple Pay is to try it out for yourself.
It’s relatively easy to enable Apple Pay on your device. To set it up, first open up Wallet. The next step is to load up the credit or debit cards you’d like “on file” in the system. Apple Pay works with most major credit and debit cards from UK banks. You can check a full list of banks that participate in Apple Pay on Apple’s site. When you add your participating cards to your Wallet, you still get all the rewards, benefits and security features of your cards.
So how do you actually add a card to Apple Pay? If you already have a card associated with your iTunes account, it’s super easy. Just select the option to add that card to Apple Pay by entering the security code that’s on the back of your card. If you don’t have a card on file for your iTunes account, you just need to go through a few more steps. Use the iPhone’s camera to take a photo of your card and fill in any additional info the app asks for (like your security code). After your card is verified, voilà—you can start using Apple Pay anywhere that accepts it. Apple’s site has a handy step-by-step guide for how to set yourself up with Apple Pay, if you need some more help.
Apple Pay works with most major credit and debit cards.
Where you can use Apple Pay
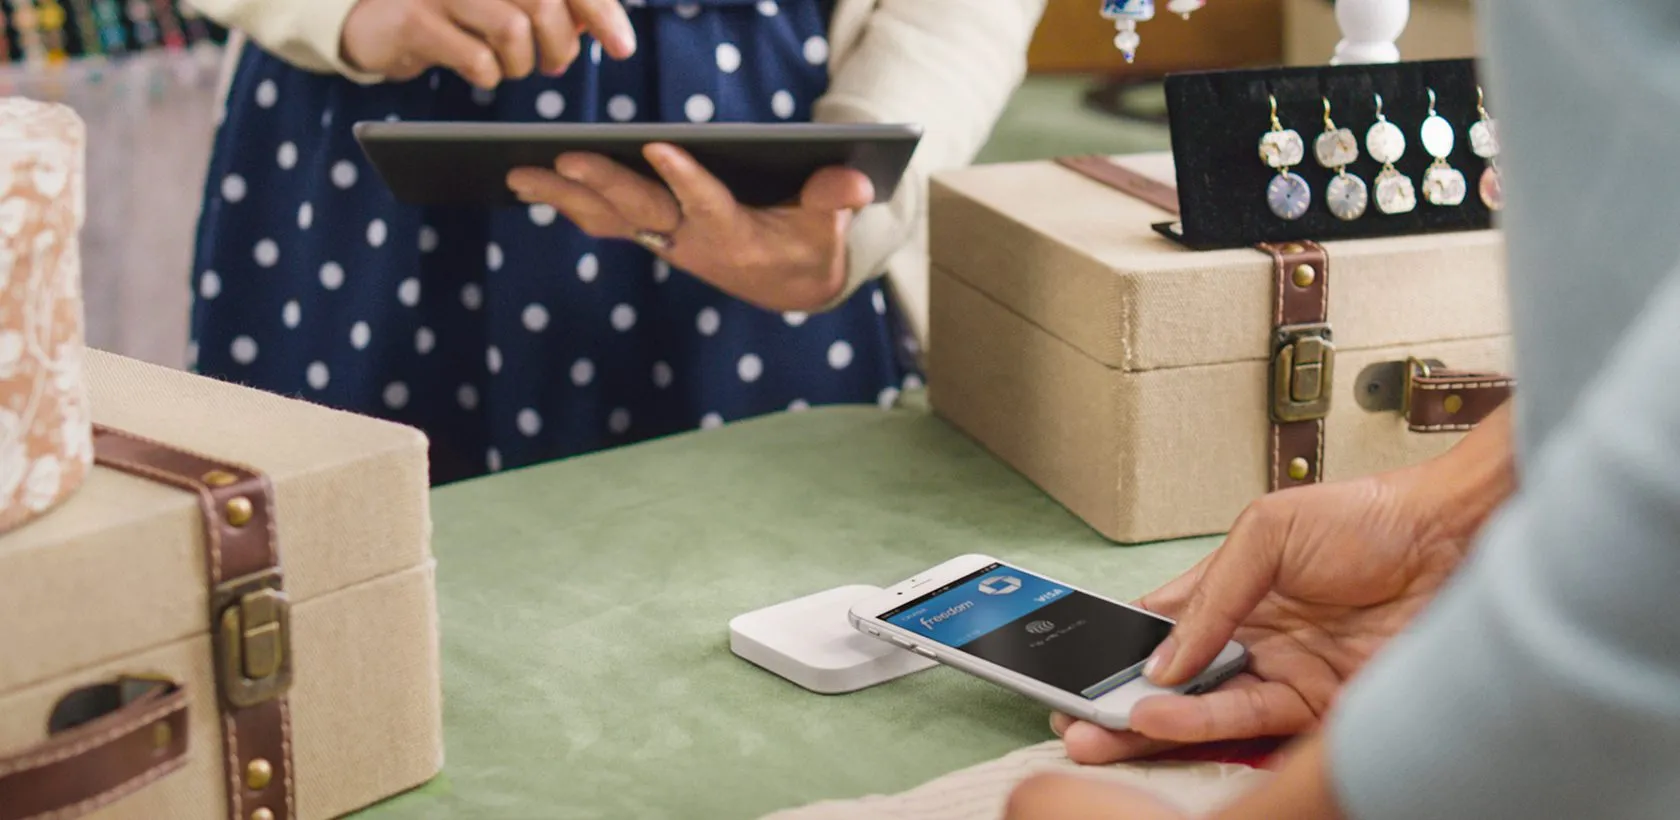
Many high street names – Boots, Costa, Marks and Spencer, BP and Superdrug, to name a few – have been accepting Apple Pay for a long time. Now, you can use it just about anywhere that takes contactless payments, including small businesses or market stalls provided they have a suitable reader. You can check Apple Maps to see whether a shop near you accepts Apple Pay. Just choose your location and look for the Apple Pay marker.
Shops that accept Apple Pay have a different kind of payments device—one that’s equipped with something called NFC (near field communication). NFC is technology that allows smartphones and devices (like a payments reader) to establish communication with each other when they’re close together to facilitate mobile payments. It’s what enables contactless payments, which are transactions that require no contact between the buyer’s smartphone or credit card and the POS terminal. Apple Pay is an example of a contactless payment.
On supported iOS devices (iPhones and iPads), you can also use Apple Pay to make purchases within apps. Apps like Deliveroo and Zara accept Apple Pay. You can check out a list of apps that accept Apple Pay on Apple’s site.
How to use Apple Pay at stores
As we mentioned, Apple Pay is an example of a contactless payment, meaning you can just hold your device near the payments reader or card machine to pay. You do have to be pretty close, though—usually around a few inches or less (that’s where the “near” part of near field communication comes in).
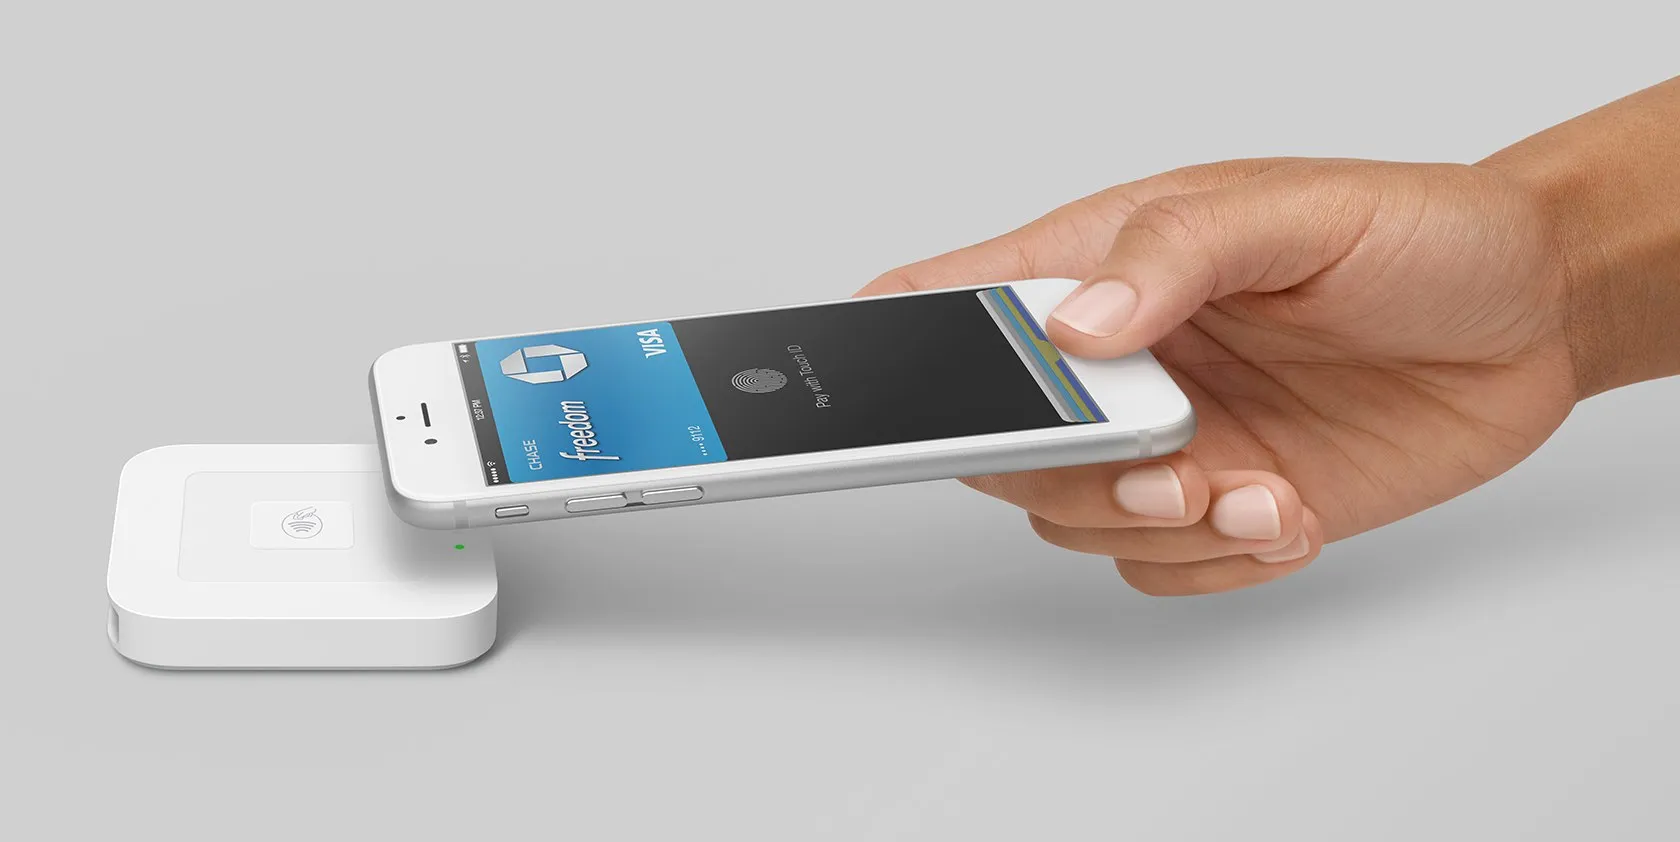
To initiate an Apple Pay payment on your phone, wait until the light on the payments reader comes on. There’s no need to open a new app or even wake up your display to use Apple Pay, thanks to that near field communication technology we talked about earlier.
If you have Face ID just glance at your iPhone or enter your passcode then hold the top of it near the contactless reader. With Touch ID, hold your device up to the reader with your finger on the Touch ID button so it can scan your print. Once everything checks out, the contactless payment is set in motion. If you have a number of cards on file, you can select your default card or choose another one. Within a few seconds, the transaction is complete. (You’ll see a checkbox on your device’s screen that indicates this.)
On an Apple Watch you just double click the side button, then hold the watch near to the contactless payment reader and wait to feel for a gentle tap.
How to use Apple Pay in apps
On supported iPhone and iPad models, you can use Apple Pay to pay for items with a single tap within apps. That means you no longer need to pull out your wallet and type out your credit card number, contact information and delivery details.
To use Apple Pay in apps, you first need to set yourself up with it, using the steps above. Then, when you want to pay for something within an app that accepts Apple Pay (the app will let you know if it does), all you have to do is choose Apple Pay as your payments option and activate the transaction using Touch ID. Complete the purchase with just a tap.
When using an iPhone or iPad with Face ID, double click the side button then use Face ID or your passcode. Otherwise use Touch ID or a passcode. With an Apple Watch just double click the side button.
Apple Pay security features
We’re used to keeping our credit cards close to the chest, so to speak. So, it’s understandable that you might be nervous about mobile payments. But Apple Pay is actually extremely secure – and a lot more secure, than the traditional magnetic-stripe cards we were all using not too many years ago.
Apple Pay transactions are encrypted and secure.
Apple Pay uses sophisticated technology to encrypt and protect every transaction. For one, your debit or credit card numbers are never actually stored on your device. Instead, Apple assigns something called a Device Account Number to each added card, which is essentially a code name for that card. That Device Account Number is then encrypted and stored securely in something called the Secure Element, which is a dedicated chip in iPhone, iPad and Apple Watches.
When you go to pay for something, that Device Account Number, along with a dynamic and transaction-specific security code, is used to process the transaction. So your actual credit or debit card numbers are never shared by Apple with merchants or transmitted with the payment. Each and every payment you make through Apple Pay has different information associated with it, so none of your data is stored, anywhere.
What’s more, Apple Pay payments are protected by Face ID or Touch ID (Apple’s fingerprint technology). So even if your phone is stolen, your information is locked down. You can also use Apple’s Find My iPhone feature to quickly put your device into Lost Mode to suspend Apple Pay, which is an added layer of security.
What’s more, Apple Pay payments are protected by Touch ID, which is Apple’s fingerprint technology. So even if your phone is stolen, your information is locked down. You can also use Apple’s Find My iPhone feature to quickly put your device into Lost Mode to suspend Apple Pay, which is an added layer of security.
The advantages of Apple Pay
Besides being a much more secure way to pay, Apple Pay has two other key benefits: convenience and speed.
Apple Pay transactions take just seconds.
Let’s look at speed first. The sophisticated technology behind an Apple Pay transaction means that payments take just seconds. That’s faster than chip and PIN card transactions which are known to be sluggish.
And then there’s convenience. Because it’s all through your mobile device (which you’re probably carrying around all the time anyway), using Apple Pay means that you don’t have to carry around a wallet stuffed to the brim. And if you leave your wallet at home, you won’t be left without a way to pay for things.
To accept Apple Pay, you’ll need an NFC-enabled payments reader.
How to accept Apple Pay at your business
To accept Apple Pay (as well as chip and PIN and contactless cards), all you have to do is get the Square Reader. It’s really easy to get up and running. The reader comes with easy-to-follow setup instructions so you can get set up to start taking Apple Pay in minutes. But as we mentioned above, before you start taking Apple Pay, it’s a good idea to familiarise yourself with how it works from the customer side of the counter. Take a few test payments on your own so that you can walk customers through the ins and outs of paying with Apple Pay if they’re using the technology for the first time.
![]()


