Catering with Square for Restaurants
If your restaurant offers catering, you can use Square Invoices Plus to accept deposits, record a detailed order breakdown and process your customers’ payments.
If you’re just starting out, take a look at our Square for Restaurants Getting Started Guide and check out the full comparison of features between Square POS, the Square for Restaurants Free Plan and Plus Plan.
Create a Catering Location
To keep your reports separate for catering, create a new location with shared or distinct menu items and applicable taxes.
To create a location:
From your online Square Dashboard, click Account & Settings.
Head to the Business tab > Locations > Create Location.
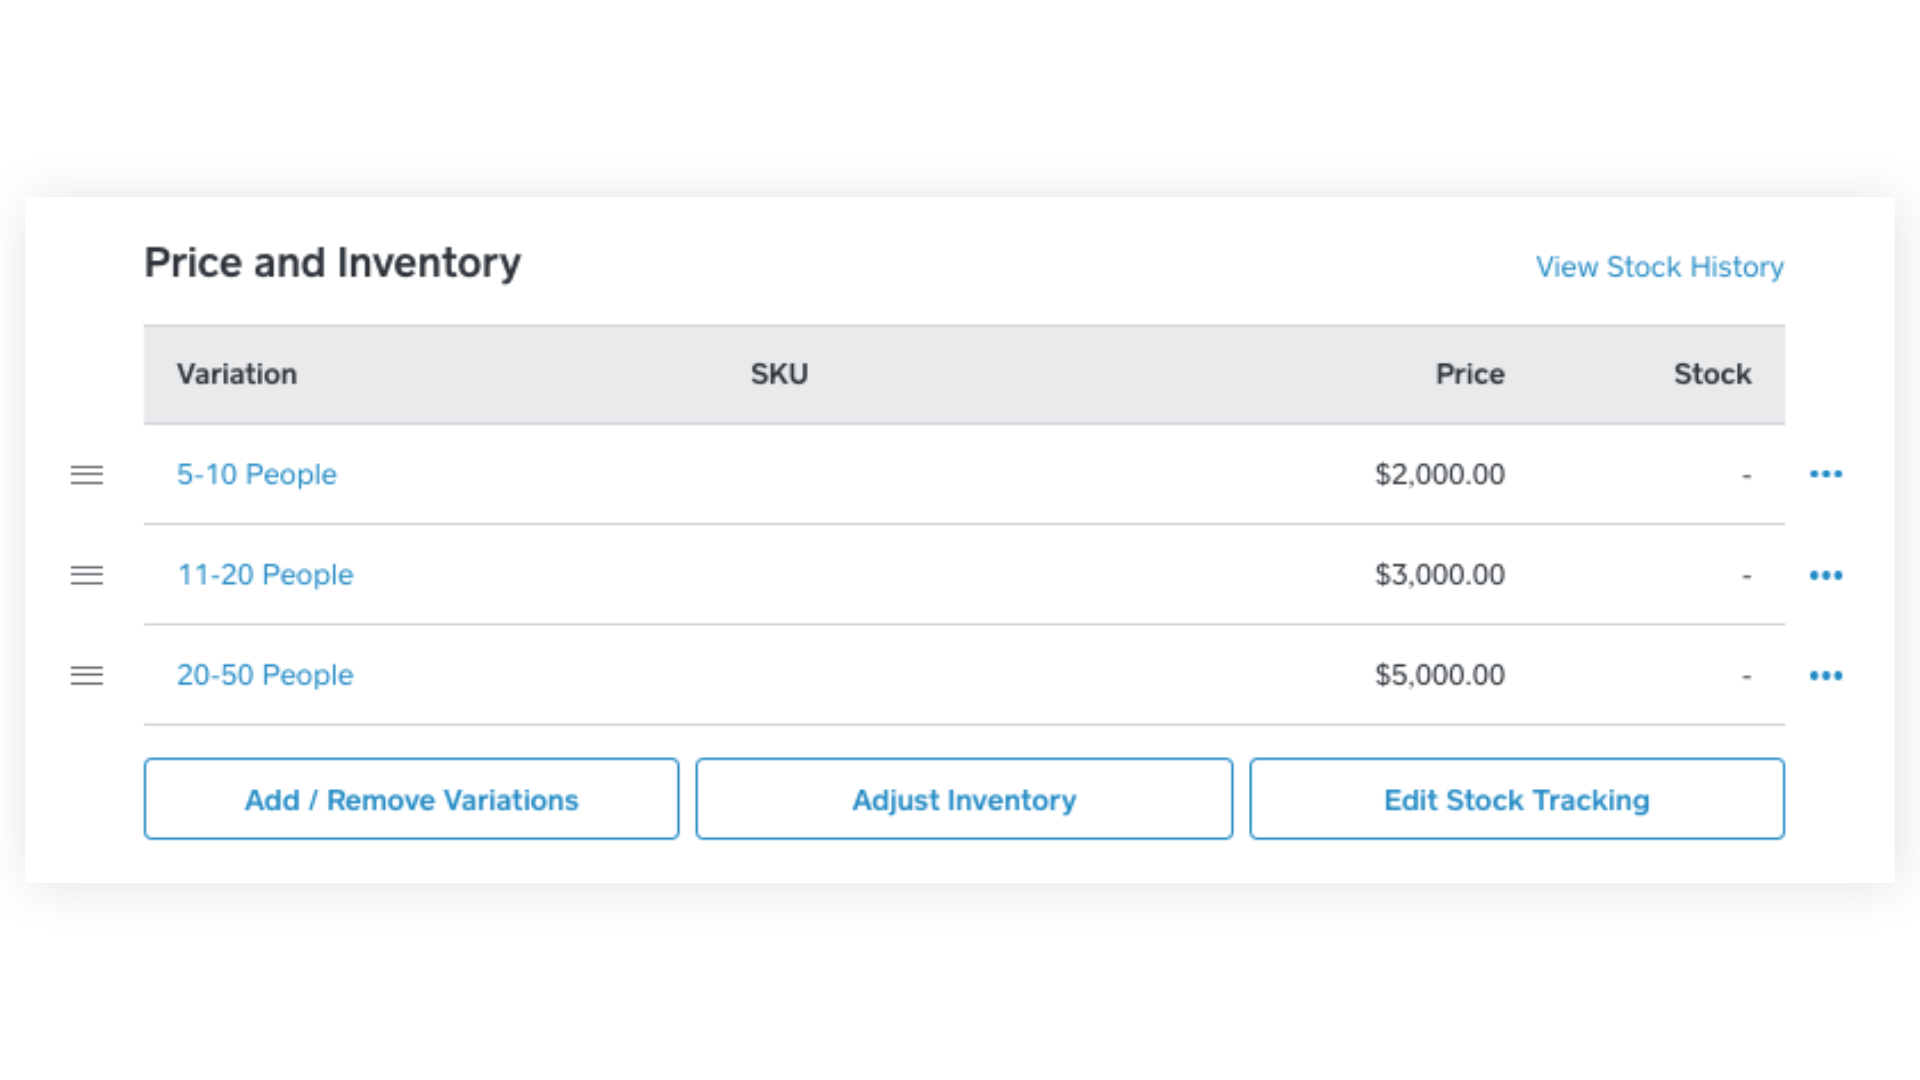
Once you finish entering the new location details, you can start to create catering items. For example, you could create a Wedding Catering item with price points for the number of people attending.

When you’re done setting up your items, you’re ready to send your customer an invoice to collect payment.
Invoice Customers for Catering
One-Time Event
For catering events such as weddings or parties, you can send a one-time invoice to collect a deposit and bill your customer.
Navigate to Invoices in your online Square Dashboard > Create Invoice.
Select a customer from your Customer Directory or enter a new name and email address. You can enter up to 9 recipients.
Add an optional Invoice Title and edit the Invoice ID to match your records.
Add a personal message. If you would like to use the same message for all of your invoices, head to Invoice Defaults.
Under Delivery Method, select whether you’d like to email your customer the invoice or manually share the invoice link. If your customer has a card on file, you’ll have the option to select it from this menu.
Select the Frequency – for a single event, choose One-Time.
Select items, then apply modifiers, notes and taxes by clicking Customise.
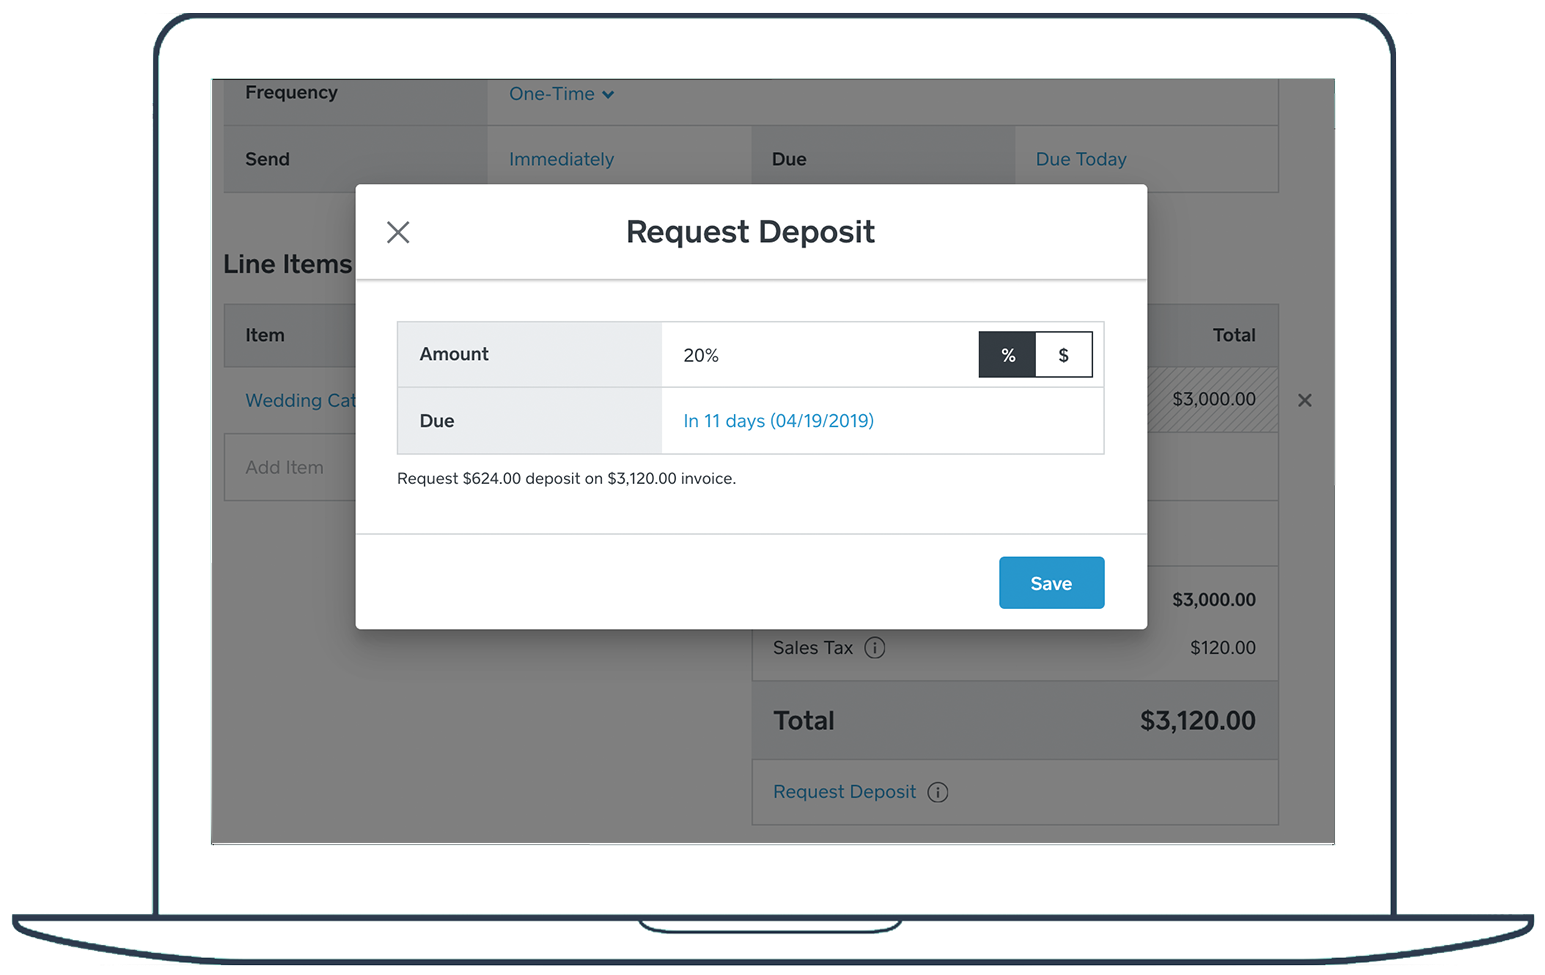
Click Request Deposit to require your customer to pay a percentage or whole dollar amount by a specific date, before settling the entire bill.
Click Send.

Recurring Invoice
If you offer catering on a regular cadence (for example, with corporate catering), you can set up a recurring payment with Square Invoices.
To set up a recurring payment:
Navigate to Invoices in your online Square Dashboard > Create Invoice.
Select a customer from your Customer Directory, or enter a new name and email address.
Add an optional Invoice Title and edit the Invoice ID to match your records.
Add a personal message or head to the Invoice Defaults section to use the same message for all of your invoices.
Under Delivery Method, select whether you’d like to email your customer this invoice or manually share the invoice link. If your customer has a card on file, you’ll have the option to select it from this menu.
Select Recurring invoice. When you create a recurring invoice series, select start and end dates, along with frequency and due dates.
Select items, then apply modifiers, notes and taxes by clicking Customise.
-
Click Schedule if you’re creating a recurring invoice series. If you’re charging a customer’s payment card on file, select a payment card from the drop-down list below Invoice Method > select a date to charge the card > Schedule or Charge if sending immediately.
Note: Before sending your invoice, select Preview in the top right-hand corner to view your invoice as your customer will see it. You can also click Save as draft to save the current version to work on later or to keep it as a template to duplicate and send anytime.
Both you and your customer will receive a confirmation email once an invoice is paid with a card on file or by your customer.
Learn more about creating and managing Square Invoices.
Create and manage Invoices in Square for Restaurants app
You may create and manage invoices in-app, with the steps depending on your device:
iOS: Navigate to Accounts > Invoices.
Square Register: Go to Utilities > Invoices.
Square Terminal and Android: Main menu > Invoices.
Update an Invoice
Let’s say your customer needs to add items to the original order, or you need to amend the deposit amount – rather than sending a new invoice, you can edit an outstanding invoice online:
Head to the Invoices tab online or in your Square for Restaurants app.
Click the invoice you’d like to update > Edit.
Add or remove items, update the deposit amount or attach additional files for you and your customer’s records.
Once you’re all set, click Send.
Your customer will be notified of the updates made to the invoice.
Reporting
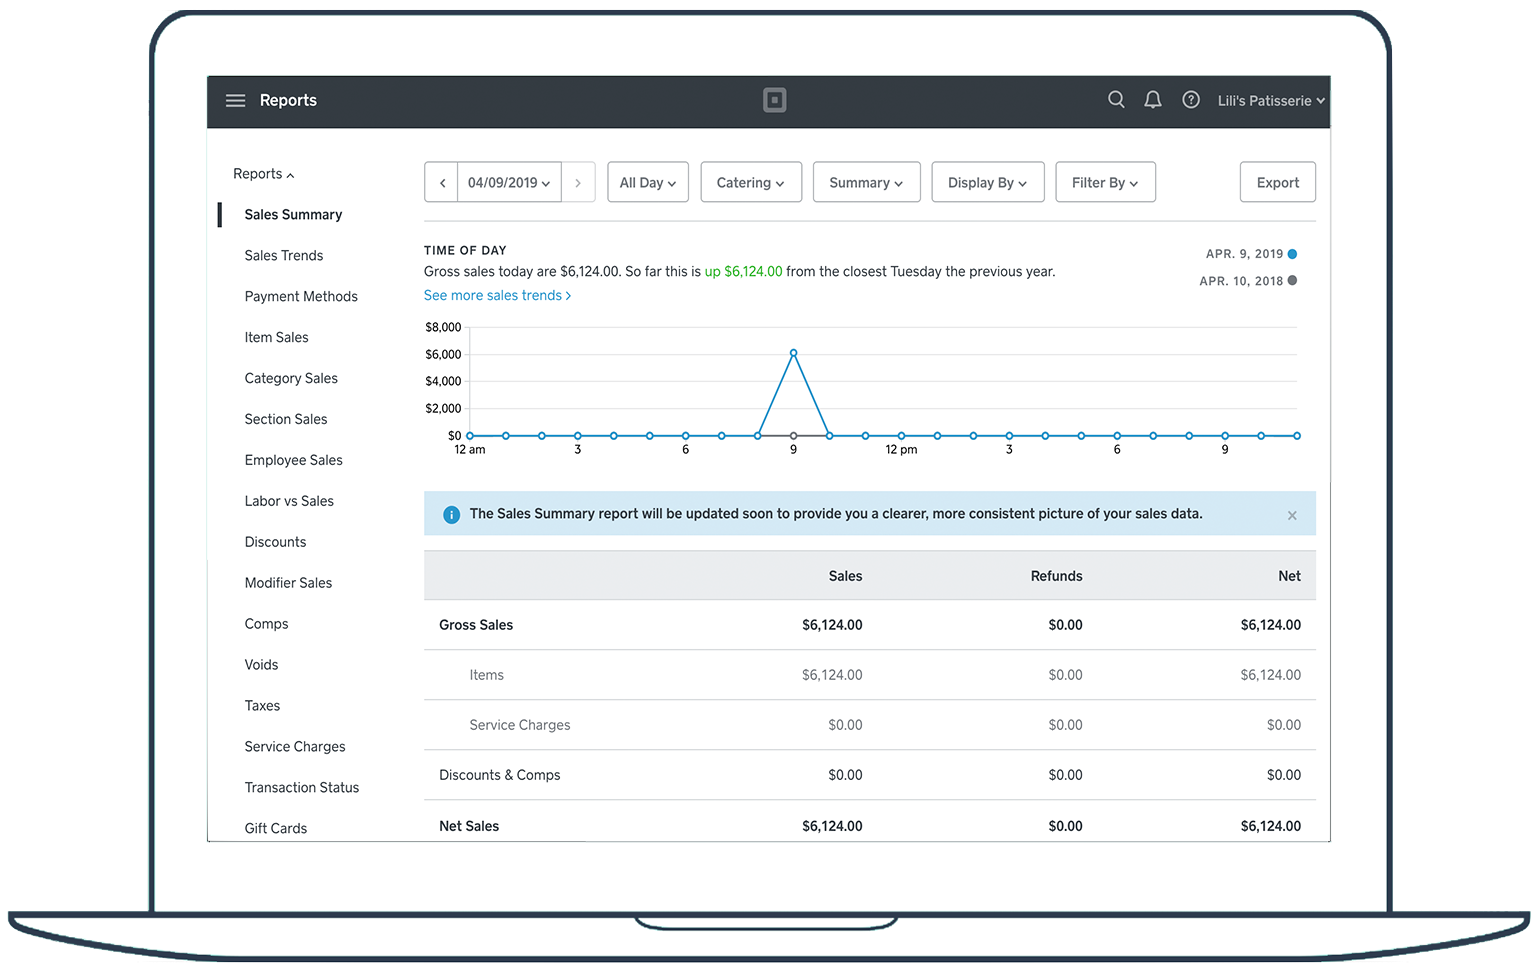
With your online Square Dashboard, you have access to a suite of reporting tools. Once you create a catering location and start accepting payments, apply the Locations filter on your reports to drill down and view your catering performance.

To get started:
From the online Square Dashboard, click Reports.
Filter by your catering location to view your Sales Summary, Sales Trends or Item Sales.
Keep in mind: Sales are not recorded in Sales Reports, Shift Reports, Close of Day Reports and Live Sales Reports until the entire invoice is paid in full.
You can review deposits/instalments before an invoice is complete from the Square Invoices app or the Invoices list in your Square Dashboard.
Learn more about reporting with Square for Restaurants.