Accept Afterpay with Square Invoices
- Account owners or team members with the account and settings permission to configure checkout settings can enable Afterpay.
- Account owners or team members with the invoices permission to view, edit, create, and delete invoices and estimates or projects.
- Account owners or team members with the checkout permission to take payments can charge a payment with Afterpay.
- Set permissions in Square Dashboard.
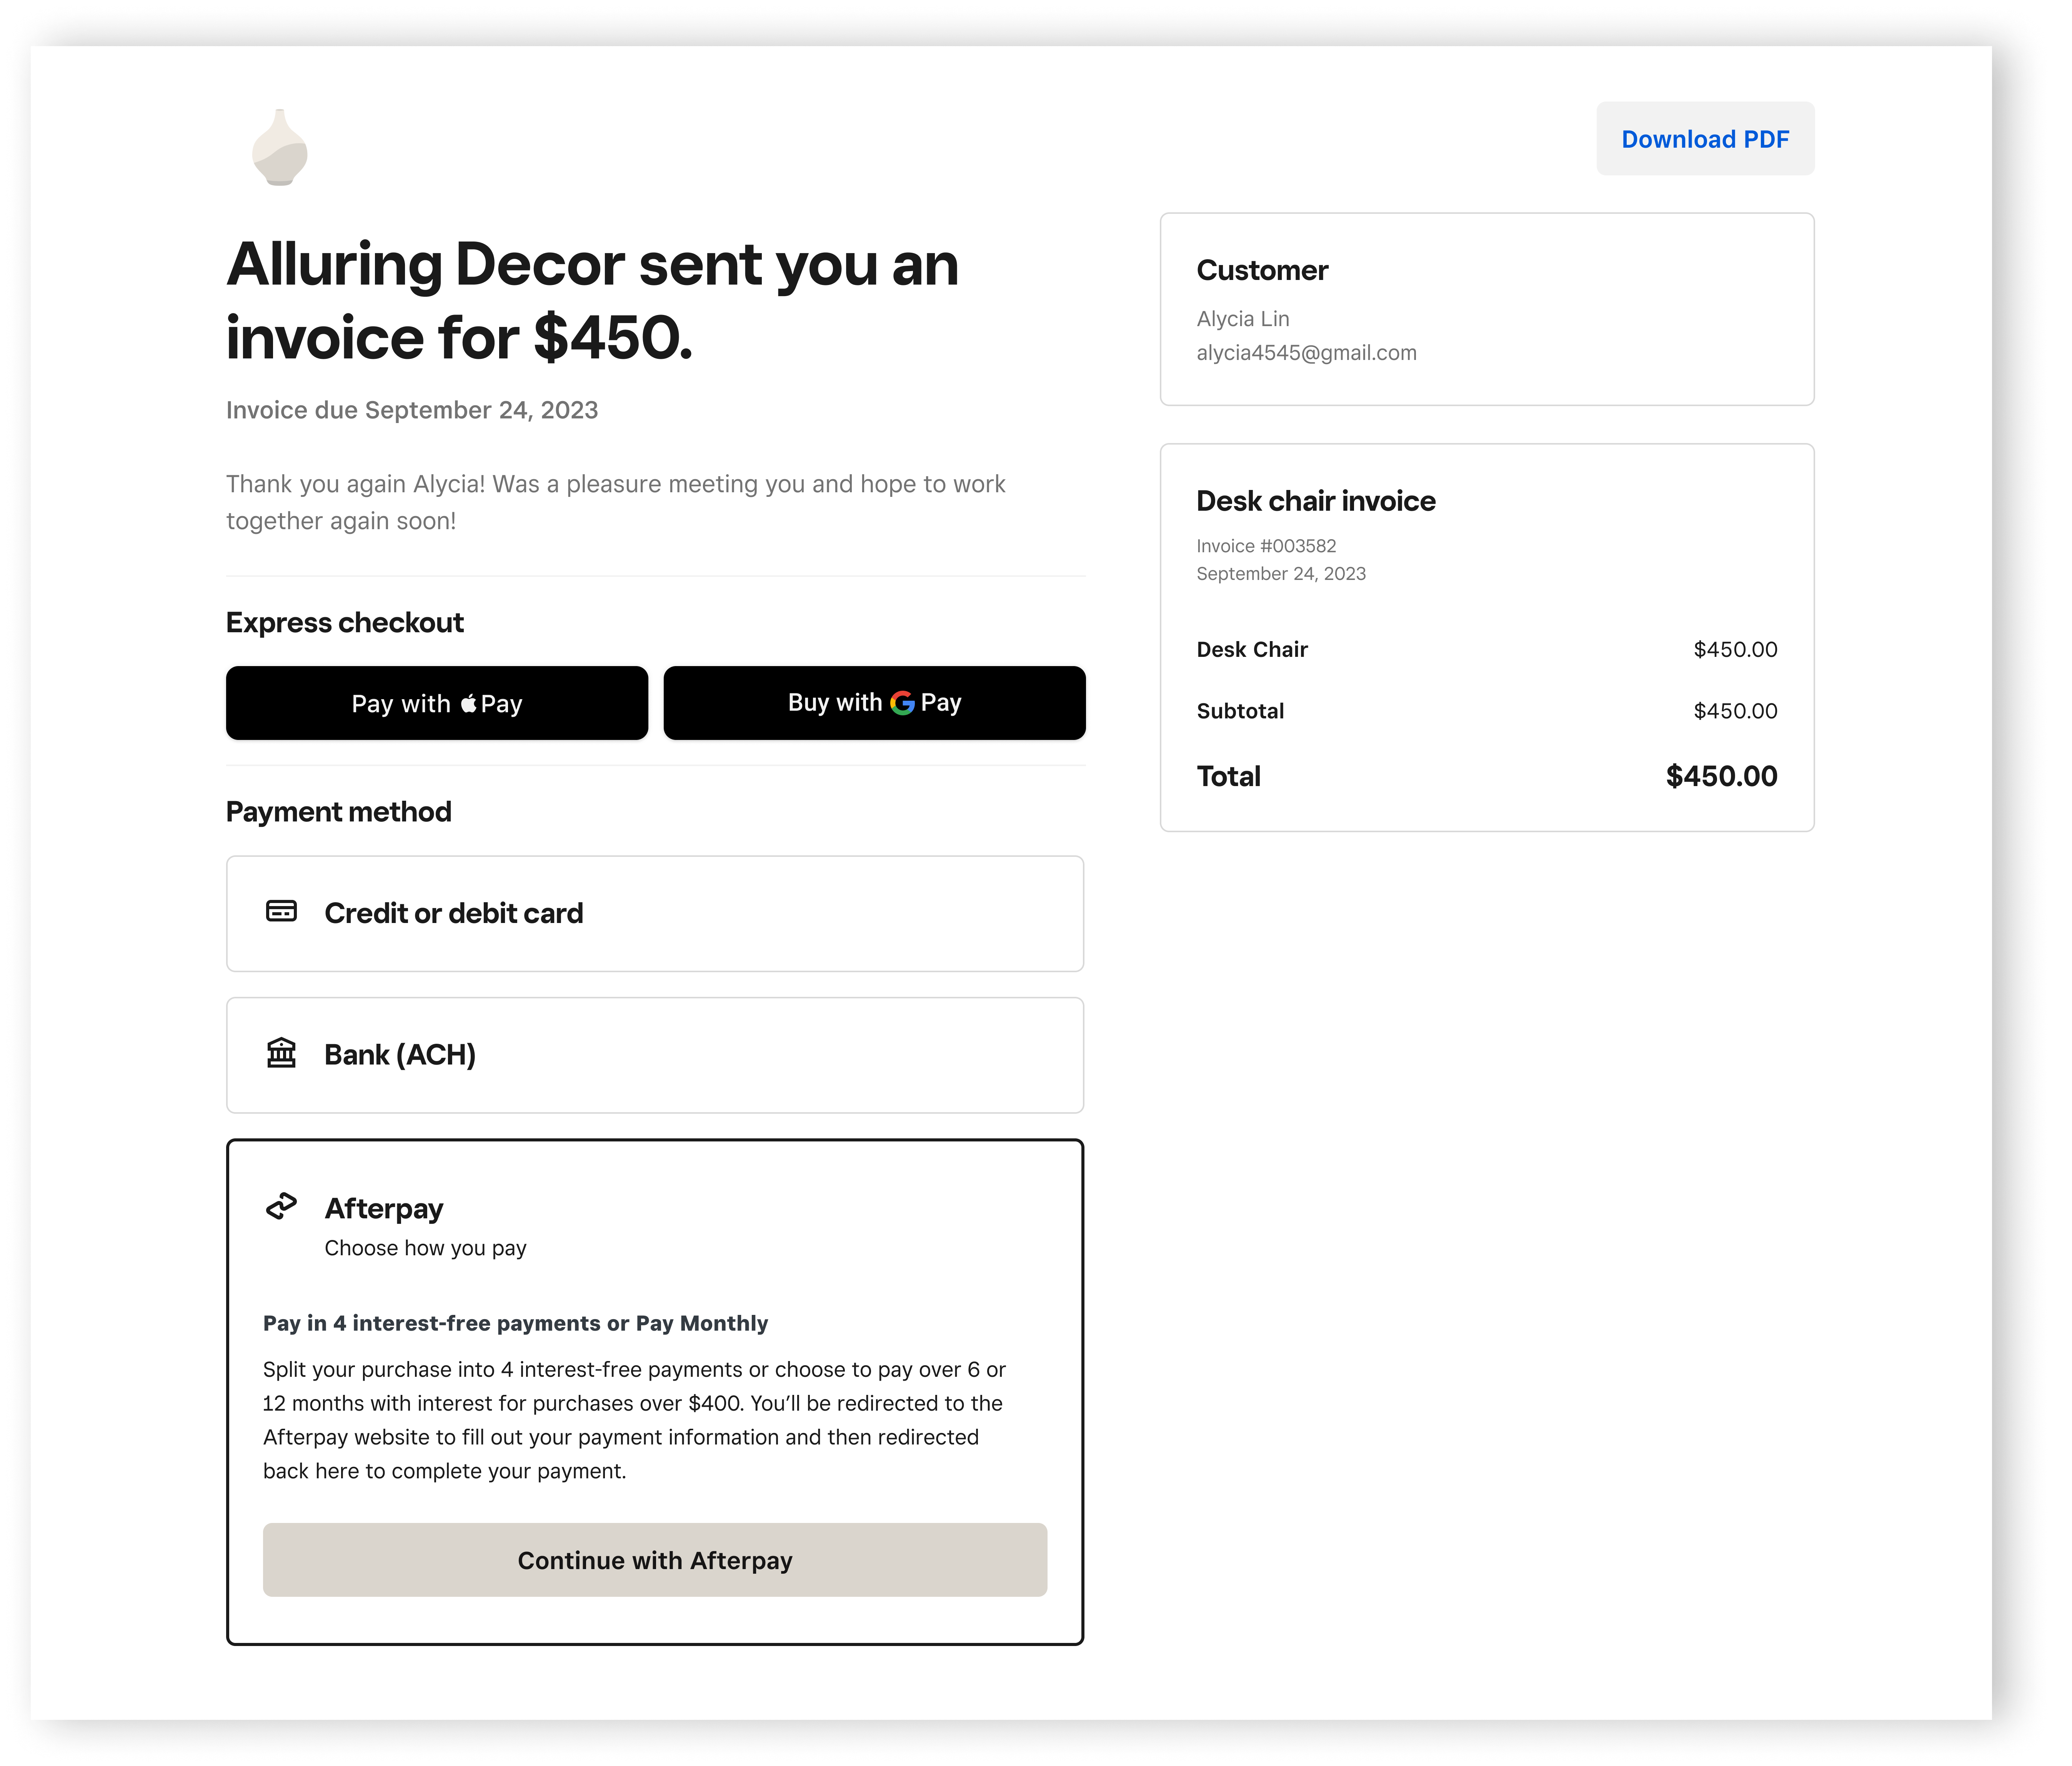
About Afterpay and Square Invoices
With Square Invoices, you can send invoices and estimates and allow customers to pay in installments with Afterpay Pay in 4. Accepting payments of up to $2,000 provides further flexibility for your customers.
Before you begin
Afterpay makes an instant approval decision at the time of purchase based on the specific consumer and the order, which may result in a customer’s order being declined at the time of transaction. This will be communicated to customers within their Afterpay app.
If you do not see Afterpay listed as a payment method in the Payment options section of your invoice, you may have to go to Payment methods Payment Methods from your Square Dashboard to enable Afterpay and/or confirm your Afterpay In-Person eligibility.
Option 1: Add Afterpay to a new invoice
Sign in to Square Dashboard and go to Orders & payments (or Invoices & Payments or Payments) > Invoices.
Select Create invoice.
Fill in the invoice details.
Scroll down to Payment options and check the box next to Afterpay.
Fill out the rest of the necessary fields to complete your invoice.
Click Send or Save as Draft or Preview.
Option 2: Add Afterpay to your default Square Invoice
Sign in to Square Dashboard and go to Orders & payments (or Invoices & Payments or Payments) > Invoices.
Select Create invoice.
Select DEFAULT Square invoice.
Click Edit in the lower right corner of the page.
Scroll down to Payment options > Payment method.
Check the box next to Afterpay.
Click Save template.