Add images and backgrounds to your Square Online site
About website images and backgrounds
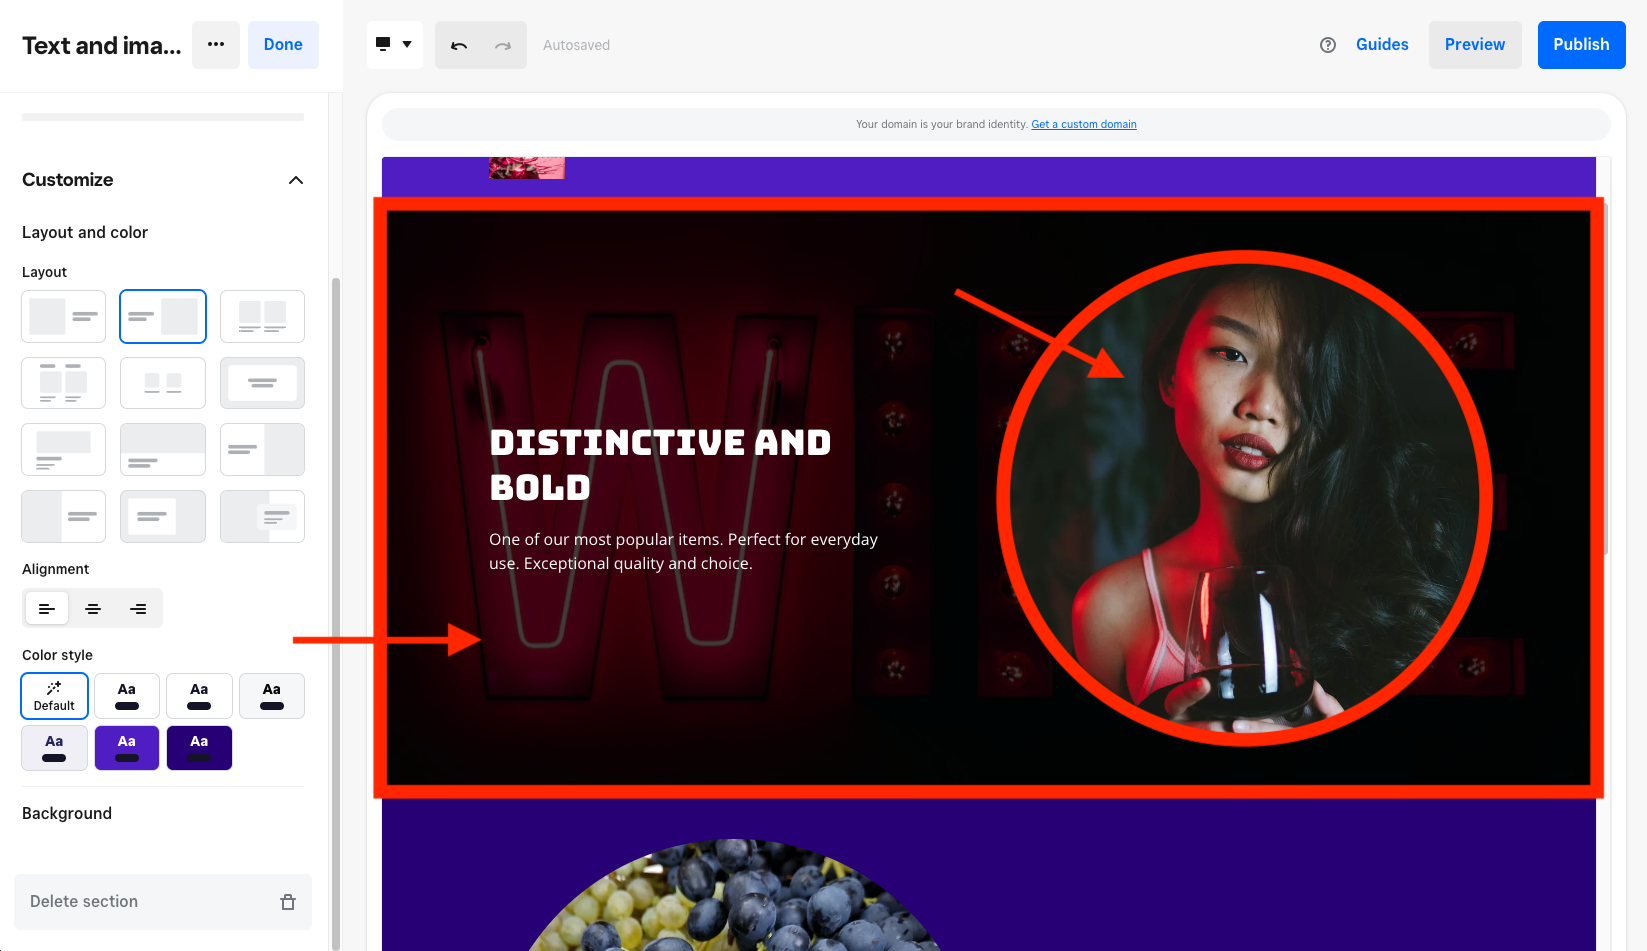
Images are a crucial element of any website. They can add a personal touch, sell more items, and enhance the overall experience of your online presence. In the Square Online site editor, most sections include an image option you can customize.
The two primary types of images in the site editor are:
Non-background images: These images are part of the added content that appears on your site along with text. You can also think of them as foreground images.
Background images: These images aren't a part of the primary content that appears on your site, but are in the background (or behind) your non-background images and text. You can consider these as part of your site's design or style.

Before you begin
You can add and edit images from your Square Dashboard.
Supported image file types include JPG, PNG, and GIF.
Make sure each image file has its own unique file name prior to uploading it to the site editor. This will help avoid any unwanted behaviors, such as images swapping places or not loading at all.
For non-background images, use an image that’s no more than 1,000 pixels on its longest side. For background images, try to use an image that’s at least 2,000 x 1,000 pixels.
You can access over 100 million premium-quality, royalty-free photos in the editor with a Square Online Plus or Premium subscription.
You can add alt text to your non-background images for SEO. Learn how to Index your Square Online site with search engines for details.
On top of high-quality GIFs, you can also use a video as a section background. Learn how to Add videos to your Square Online site for details.
To manage item and category images on your site, go to your Square Item Library. Learn how to Upload and manage item images for details.
Add an image to your section
- Sign in to your Square Dashboard and click Sales channels > Online > Website > Edit site.
- Open the page where you want to add images.
- Select + > Section to add your section.
- In the editing panel, select Add image under the image option.
- Sign in to your Square Dashboard and click Sales channels > Online > Website > Edit site.
- Open the page where you want to add images.
- Select + > Section to add your section.
- In the editing panel, go to Customize > Background and choose Image from the dropdown menu.
- Select Add image.
Edit an image
You can edit your non-background images at any time.
- Sign in to your Square Dashboard and click Sales channels > Online > Website > Edit site.
- Open the page with the image you’d like to edit.
- Select the section with the image, then select the image to see image options appear in the editing panel.
- Select Edit to adjust the available options. If you don’t like your changes, select Revert to original.
- Save your edits and Publish your site to see the changes live.
- To replace your image, select your image and click Replace in the editing panel.
- To delete your image, select your image and click the trash can icon in the editing panel.
You can also disable right-clicking on your site in some browsers to prevent people from easily copying your pictures.
- Sign in to your Square Dashboard and click Sales channels > Online > Settings > Tracking Tools.
- Under “Add custom header code,” select Add new code.
- In the pop-up window, enter the code name and the code into the corresponding fields. Use the code: < body oncontextmenu=”return false;” >
- Place the code in the footer by selecting End of body.
- Click Save.
- Publish your site from the editor to see the changes live.
You can improve the readability of a section in Square Online by adjusting the darkness or lightness of the background image. You can also zoom and straighten the background image.
- Sign in to your Square Dashboard and click Sales channels > Online > Website > Edit site.
- Open the page with the background image you’d like to adjust.
- Select the section with the image, and click Customize > Background in the editing panel.
- Select Edit and adjust the image’s readability by moving the slider.
- Save your edits and Publish your site to see the changes live.
- To replace your image, click ••• > Replace in the editing panel.
- To delete your image, click the trash can icon in the editing panel.
Adjust background images for mobile
You can adjust the focal point of a section’s background image so the subject of the image remains centered on your Square Online mobile site.
Sign in to your Square Dashboard and click Sales channels > Online > Website > Edit site.
Open the page with the background image you’d like to adjust for mobile.
Select the section with the image and go to Customize > Background in the editing panel.
Select ••• > Set image subject.
Place the indicator dot on the main subject of your background image to help make sure the subject of your photo is centered on your mobile site.
Select Save when finished. You can check the mobile site with this change by switching to the mobile view.
Publish your site to see the changes live.
Create image links
You can turn a non-background image into a link.
Sign in to your Square Dashboard and click Sales channels > Online > Website > Edit site.
Open the page with the image you’d like to link.
Select the section with the image, then select the image to see image options in the editing panel.
Select the Add link button in the editing panel to set up your link destination. Click Save.
Publish your site to see the changes live.