Manage your Square Online site sections
About managing sections
Sections are the content building blocks of your website. Every page on your site has a universal header and footer section, and you can add and customize additional sections to create the online experience you want. When you create pages and navigation for your Square Online site, you add sections to each of your pages.
Some section layouts let you copy parts of the section called groups, so you can add more content and images without adding another section to the page.
You can add sections to your Square Online site to include text, images, items, and many other features on your webpages. The sections menu in the editing panel of the site editor lists all of the sections on the current page. Hover over any item in the list to see it highlighted on your webpage, and select it to view and edit settings for that section.
Before you begin
You can manage sections from your Square Dashboard.
By default, the footer includes a simple branded banner that shows visitors your website is built with Square. You can upgrade your Square Online subscription to remove this banner and customize it to your site.
Add and Edit Sections
The sections menu in the site editor lists all of the sections on the page you're viewing. Editing options vary by section type, and selecting a section in the menu opens that section's editing panel.
To add a section to your site:
Sign in to your Square Dashboard and go to Sales channels > Online > Website > Edit Site.
Open the page you want to add a section to.
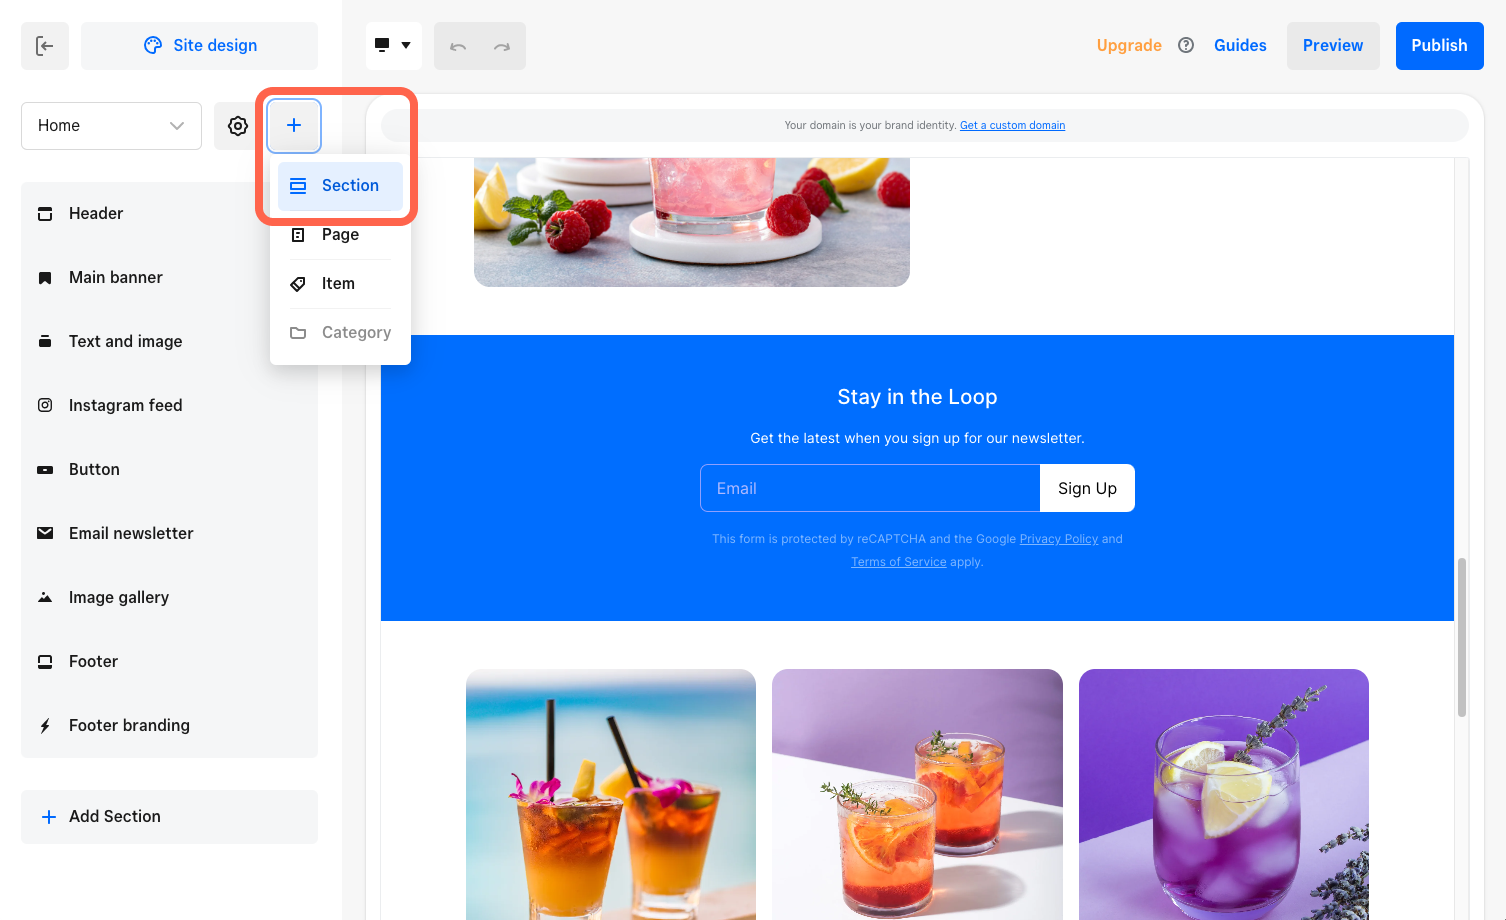
Select +Add > Section and select a section that best suits your needs. If you don't see +Add > Section for the page you're editing, that means a section can't be added to that page.
Select the section to see customization options appear in the editing panel. Each layout comes with numerous customization options.
To insert a new image and text group with the default text, select Add group. Depending on the layout, you can toggle display options like section or group titles, descriptions, buttons, or images. To copy an existing group, select ••• > Duplicate.
Complete your edits and select Publish to see the changes live.
Manage your sections
You can move, copy, or delete sections from your Square Dashboard.
You can move sections on your Square Online site around to adjust the order of the content on your pages.
- Sign in to your Square Dashboard and go to Sales channels > Online > Website > Edit Site.
- Open the page that has the section you want to move.
- Select the section in the editing panel, and drag it up or down to rearrange the order. You can also select ••• > Move up, Move down, or Move to another page.
If you don’t see these options appear, then the section can’t be moved.
You can make an exact copy of a section and add it to the current page.
- Sign in to your Square Dashboard and go to Sales channels > Online > Website > Edit Site.
- Open the page that has the section you want to copy.
- In the editing panel, hover over the section and select ••• > Duplicate.
- Sign in to your Square Dashboard and go to Sales channels > Online > Website > Edit Site.
- Open the page that has the section you want to delete.
- In the editing panel, select the section and select ••• > Delete.