Set up and manage your appointments waitlist
About the Square Appointments waitlist
Set up and use a waitlist to fill schedule gaps caused by last-minute appointment cancellations or reschedules. You can manually add clients to your waitlist or your clients can join your waitlist through your online booking site.
Before you begin
You can enable a waitlist from your Square Dashboard. You can view, add requests, and edit your waitlist from your Square Dashboard or the Square Appointments POS app.
You can also message clients on the waitlist with Square Messages from your Square Dashboard or the Square Appointments POS app.
Before you can use a waitlist, you need to create an online booking site. Learn how to set up online bookings with Square Appointments.
Step 1: Enable waitlist
Sign in to your Square Dashboard and click Payments > Appointments.
Click Online Booking > Settings.
Under Waitlist, toggle on Enable Waitlist on your online booking site. This setting will apply to all locations.
If applicable, toggle on Send my clients a notification when an opening occurs.
Click Save.
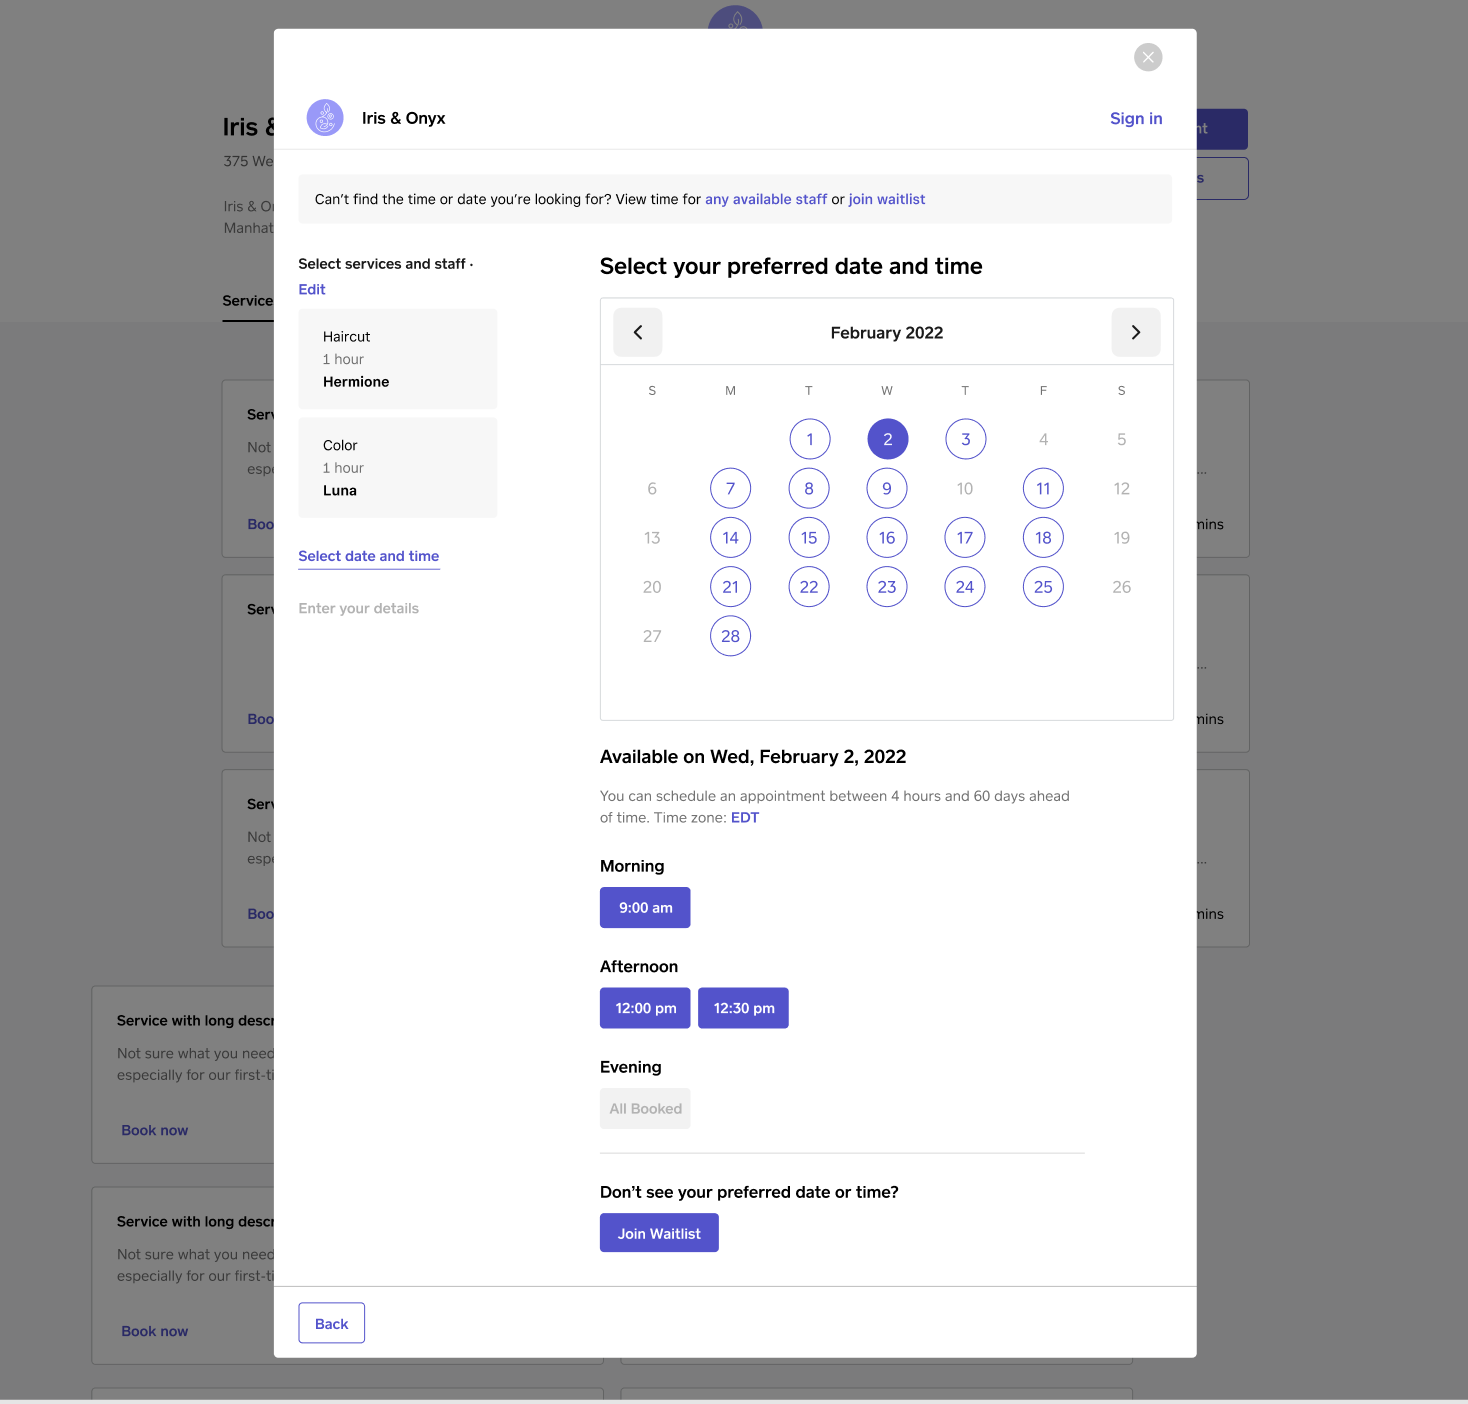
Once the waitlist is enabled, the prompt “Don’t see your preferred date or time? Join Waitlist” will display to clients on your online booking page.

Step 2: View your waitlist
- Sign in to your Square Dashboard and click Appointments or Payments > Appointments.
- Click Waitlist.
- If applicable, select a location to view from the location dropdown.
- Click on a waitlist entry to view more details.
Step 3: Add a request to your waitlist
- Sign in to your Square Dashboard and click Appointments or Payments > Appointments.
- Click Waitlist.
- If applicable, select a location to view from the location dropdown.
- Click Add request.
- Enter the client details and select the services requested.
- Click Save.
- Open your Square Appointments POS app.
- Tap ≡ More > Waitlist.
- If you have no waitlist requests, select Add to waitlist. If you have existing waitlist requests, tap the client icon (+).
- Select Add Customer to add an existing customer or create a new customer.
- Select Add Service.
- Add at least one availability preference.
- Add additional notes, if needed.
- Tap Save.
Step 4: Message your clients on the waitlist (optional)
- Sign in to your Square Dashboard and click Appointments or Payments > Appointments.
- Click Waitlist.
- If applicable, select a location to view from the location dropdown.
- Find the waitlist entry you want to message and click ••• by the entry.
- Select Message client.
To avoid overwhelming customers with messages when their schedule is being changed, we won't notify your customers about a new opening if we've already notified them in the past six hours.
Edit your waitlist requests
You can edit your waitlist to add staff notes, update client availability preferences, or remove the request.
- Sign in to your Square Dashboard and click Appointments or Payments > Appointments.
- Click Waitlist.
- If applicable, select a location to view from the location dropdown.
- Find the waitlist entry you want to edit and click ••• by the entry.
- Select Edit request, Add staff note, or Remove.
- Edit the waitlist details or enter your note in the Staff note field.
- Click Save.